Much of our appreciation of art revolves around our consumption of it—from streaming the latest album to watching an old-fashioned film, most people engage with art by listening, watching, and critiquing it. Producing your own art, though, elevates the entire experience, giving you not only a better sense of your own artistic style, but also an appreciation for the art you engage with every day. One of the best ways to get started creating your own art is to record and produce your own music.
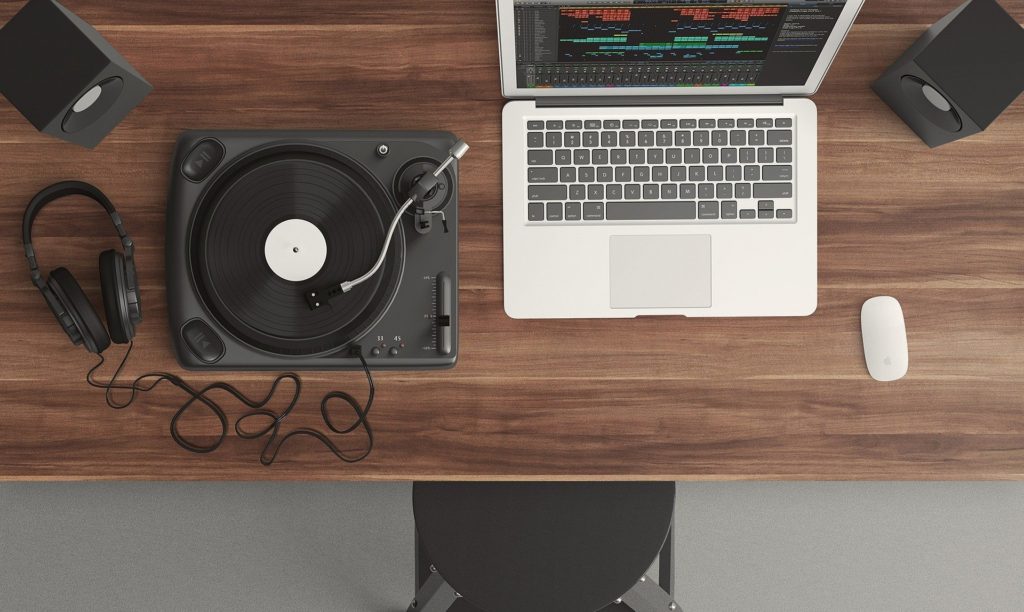
To start, you’ll need a laptop or desktop computer, dynamic microphone, MIDI controller, audio interface, and a few cables.
Starting with the laptop or computer, you’ll need to download a digital audio workstation, also known as a DAW. A DAW is a music program that records and plays back audio from different instruments into tracks. It gives you the ability to manipulate the sounds you record by letting you change the volume, the pitch, and more. Some popular examples of DAWs include Pro Tools, Logic Pro X, Fl Studio, Ableton Live, and Studio One. As they all require an initial investment, many beginners opt for free options that perform the same job, including Reaper, Audacity, and Soundtrap.
Next, you’ll need a special kind of microphone called a dynamic microphone. Dynamic microphones are able to take sound waves and convert them into electromagnetic waves using magnets. It’s important to get a quality microphone so that you can record the clearest sound possible, with no background noises or muffled sounds. Instead of relying on DAWs to edit out sound imperfections, your best bet is to eliminate any potential audio issues by investing in a quality microphone, like the Shure SM57.
Once you have your DAW and your microphone, it’s time to move on to your audio interface. An audio interface is a piece of hardware that can connect to your microphone, headphones, guitar, and other external instruments you may have to your laptop. It takes the sounds you produce as input and turns it into a digital signal that your computer can process.
The last, but one of the most essential, tools you’ll need is a MIDI controller. Most MIDI controllers look like a piano with drum pads. It’s best to think of the MIDI controller like a game controller except instead of controlling characters on the screen, you’re controlling notes on the screen. It enables you to map specific notes that you want in your song quickly and easily. MIDIs are also extremely useful since you can download different sounds onto them to replace almost any instrument you can think of, including drums, piano, bass, and organ.
Putting all of these tools together, you’re going to need to get into the actual workflow of recording a song. First, you must create a new track. Each track that you create should represent a single instrument. Next, arm your track (click the red R button in your DAW?) to let the program know that the selected track is ready to record. Then press record, and play away! It’s usually best to record the song from start to end, so make sure you get in plenty of practice. Once you’ve finished recording, go back to any small mistakes that you’ve made and re-record that part over the mistake. Lastly, repeat steps one through three until all of your instruments are recorded. When your tracks are recorded, bounce your track and export your file as either a wav or mp3 file depending on the platform (i.e. Spotify, YouTube, Soundcloud, etc.) that you want to publish your song on.
There’s a huge misconception that the price of your gear ultimately determines the quality of your music, but this is simply untrue. As long as you go into the process with an open mind and are willing to make mistakes, you’re well on your way to producing music that you can be proud of. Let’s get out there and produce great music!
Image from Pixabay
